Bye Linoleum, Hello Ceramic Tile!
Goodbye 1990’s Linoleum, hello ceramic tile! When we found our current home, we definitely settled on this place for the land and views. Definitely, not for the amenities, or lack thereof, that is! One of the many reasons I started a blog, was to share our journey of upgrading our home to a modern farmhouse. I also wanted to learn some DIY, and hopefully inspire someone else with the same dream.
I know we are not alone in the search to find a home with land. Some of the properties we looked at with lots of acreage, we could afford, but there wasn’t much of a house that came with the land. On the other hand, we found beautiful shiny “move in ready homes”, sitiing on a quarter acre lot, with windows practically peeking into the neighbors windows, and little or no privacy.
The house we fell in love with was a good compromise of almost 2 acres, with amazing views, and a home that needed lots of upgrades; but had good bones and tons of potential!
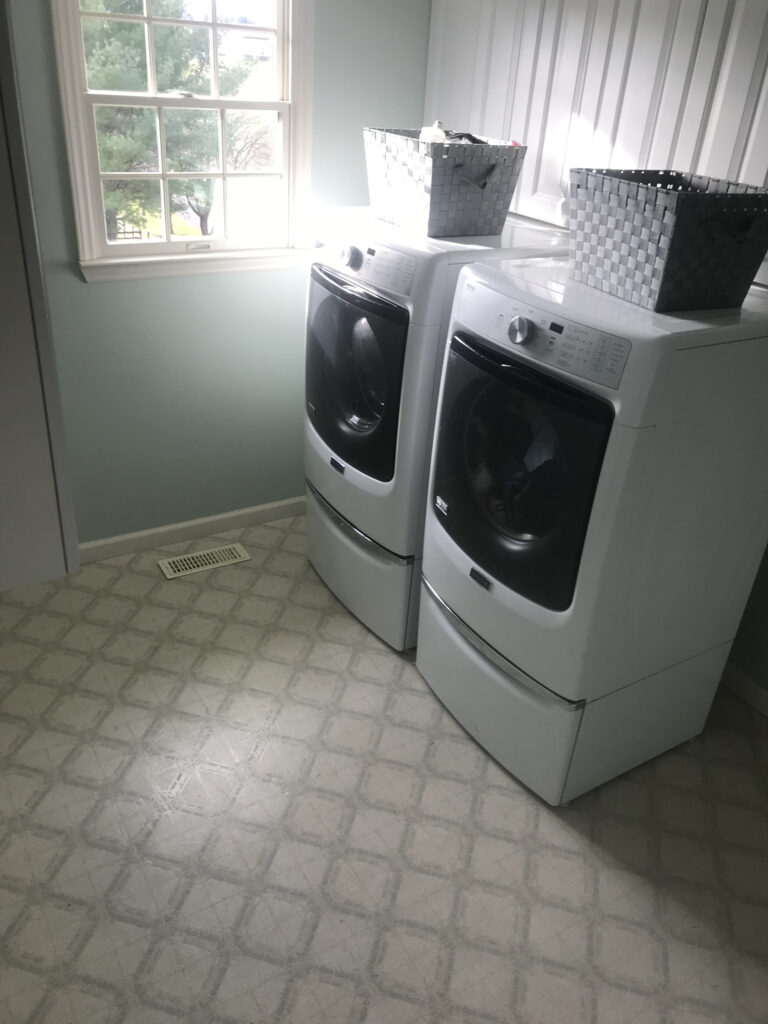
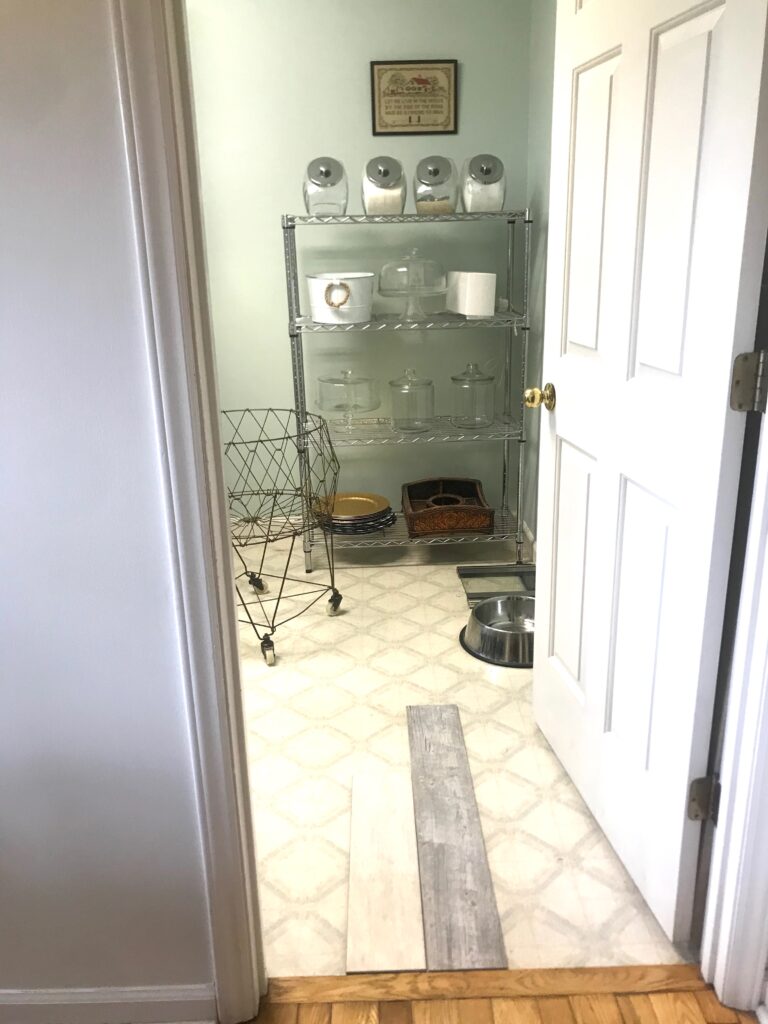
The laundry room had linoleum tile with stains that looked like they had been there since the house was built in 1992. I wanted the look of aged wood, but obviously wood is not practical in a laundry room, so we settled on ceramic tile.
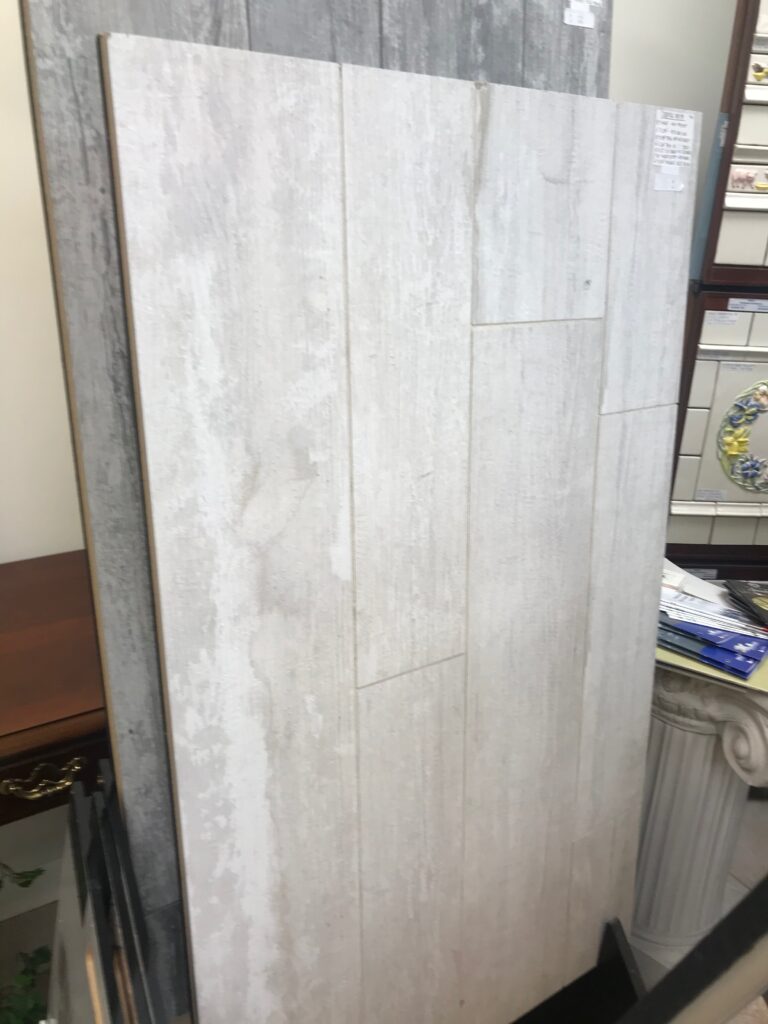
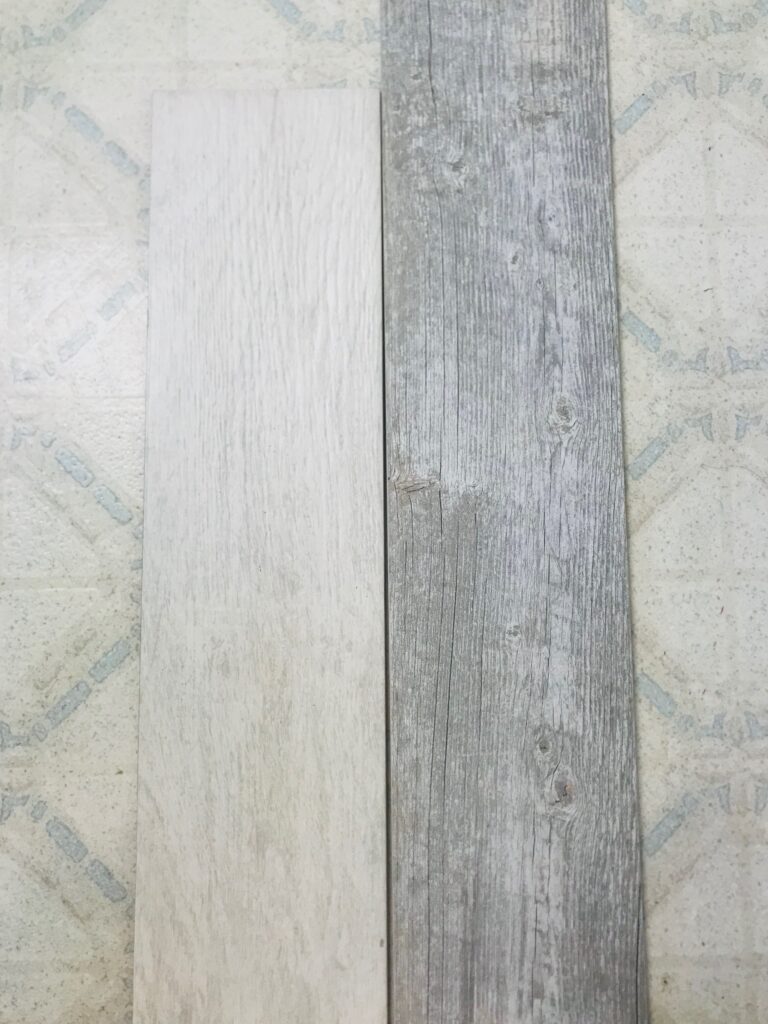
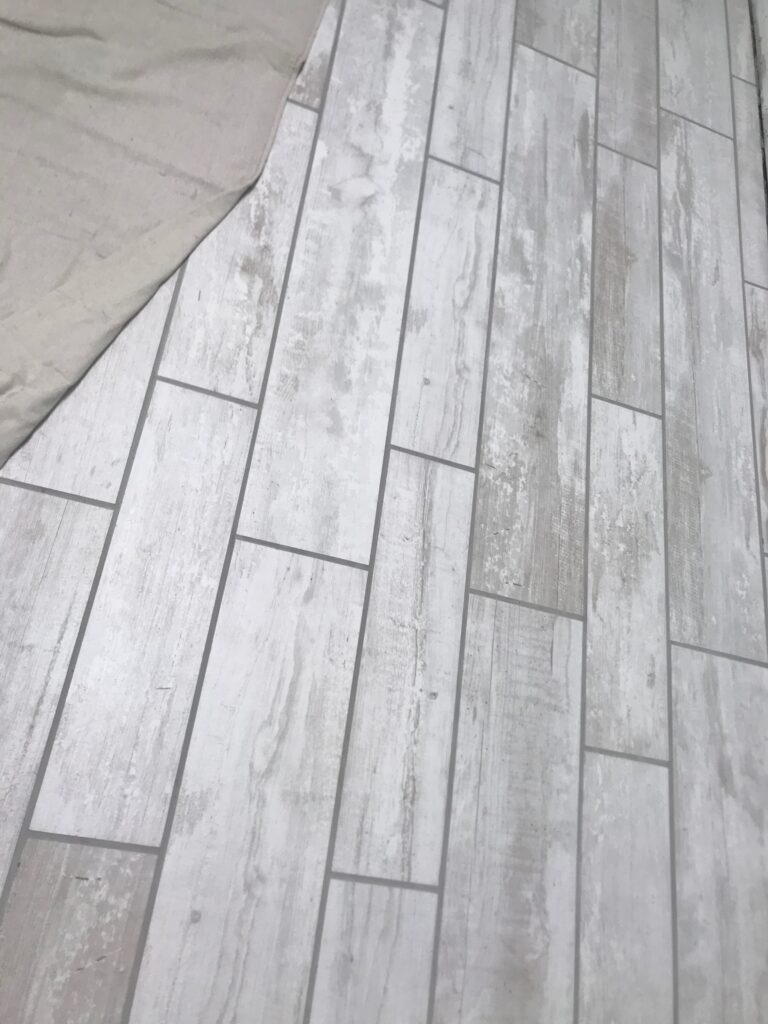
I narrowed my selections down to the white washed, or gray tiles. We are going with a more modern look, using more grays in our home. In the end, I chose the white washed, called Colonial White, from StonePeak Tile Company. I wanted tile that was transitional when gray is no longer trending. The white tiles have gray and beige throughout giving it an aged barn wood look. This tile had farmhouse style, but was still trendy and modern. It will transition well to any colors I choose for years to come.
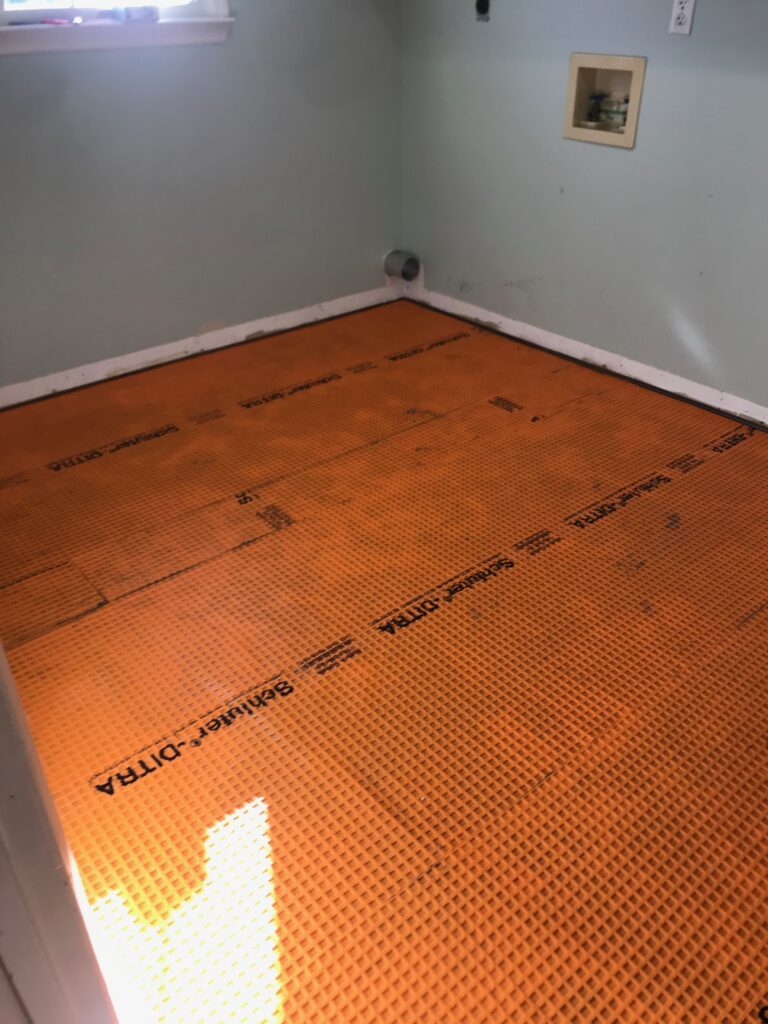
We wanted to get the best results in the shortest amount of time, which is common with 3 children and all their activities, so we searched for a solution to make life a little easier. We researched and found an easy solution- Schluter Systems Ditra uncoupling membrane. The beauty of this product is that it allows tile to be set on existing vinyl flooring. No Joke, you don’t have to tear up the vinyl to put cement backer board down! What a time saver. As long as the subfloor is in good shape, and the vinyl is non-cushioned, Ditra is spec’d out to make life a little easier.
The most important thing to keep in mind whenever doing any kind of tile work is to make sure the surface is level and even. We had to do a little work with some self-leveling concrete, but other than that, the Ditra made this project go much more smoothly.
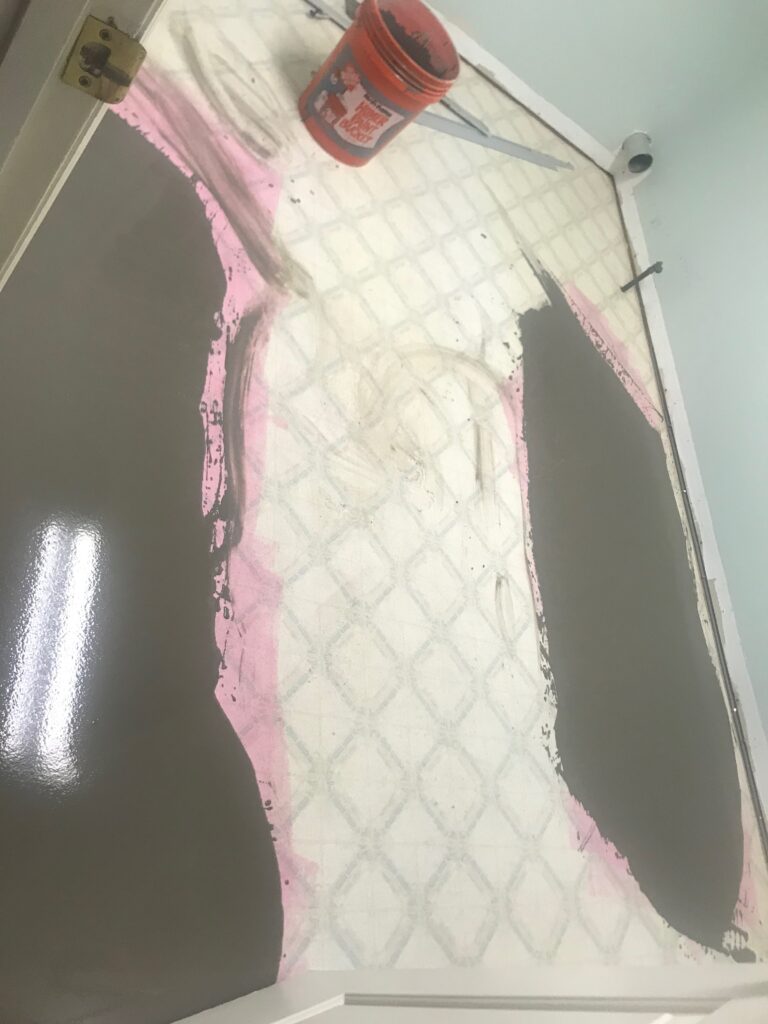
We started the prep work by removing the baseboards, and thoroughly cleaning the floors. We checked for high or low spots in the existing floor with an 8ft straightedge. We had noticed two low areas which we marked and primed (the pink areas with the black marker). The black marker is at the end of the low areas, but we extended the area to make sure we had good coverage over the low areas.
Rather than pulling up the linoleum, we laid the tile over the linoleum, and it worked out great with less hassle.
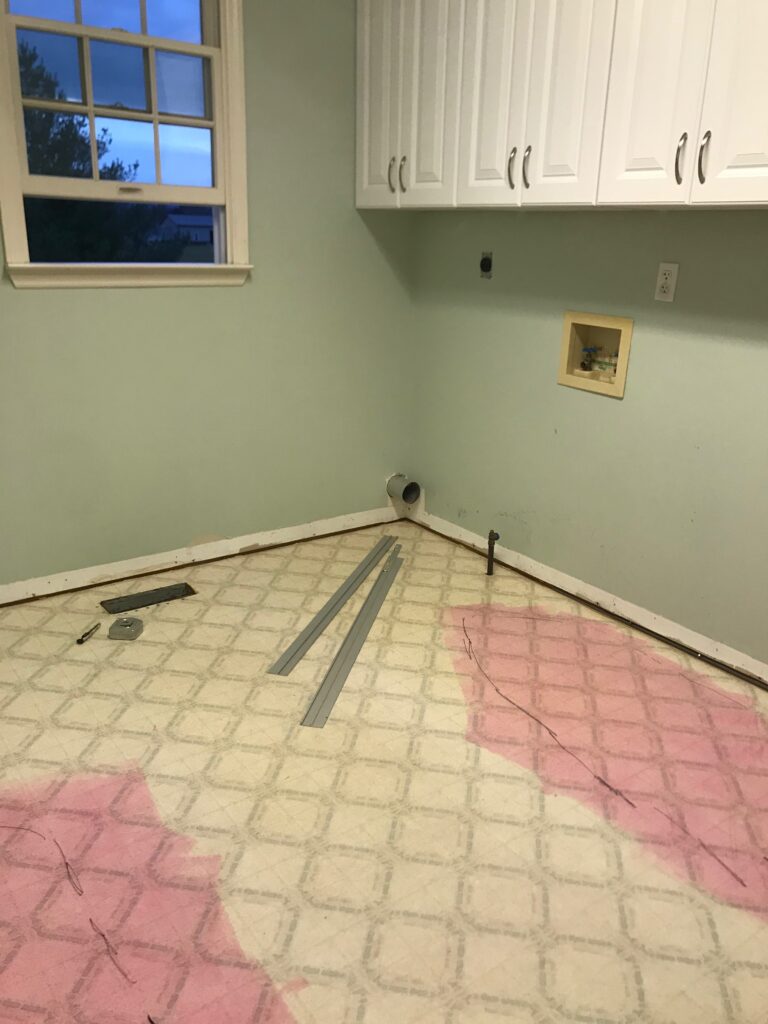
We applied self leveling cement to low areas, and allowed it to dry overnight.
We then applied Ditra underlayment over fast-setting modified Thin-Set mortar. Affiliate link to Ditra below: https://amzn.to/40xtsAI
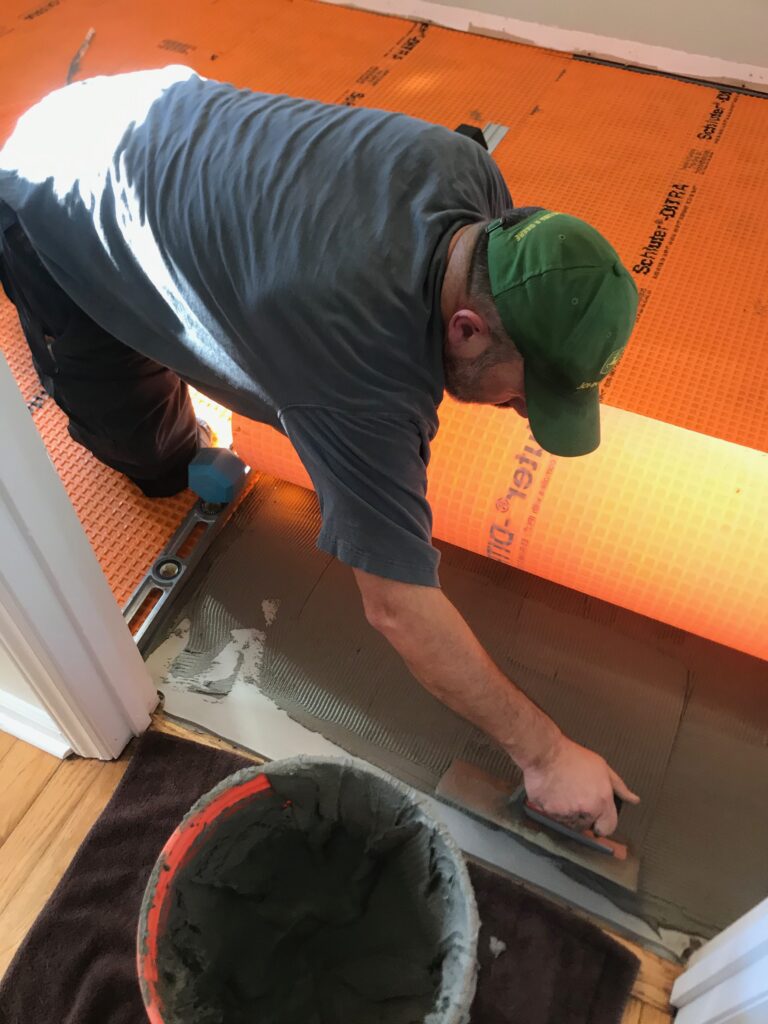
One of my husband’s favorite features of the Ditra underlayment was the ability to cut the material with a straightedge, and a razor knife. No saw, no Sir, this stuff is easy!
The Ditra uncoupling membrane has a few more advantages also. The uncoupling characteristic allows for slight movement, which prevents cracks in tiles and grout lines. Load distribution is also utilized with this system, as the mortar forms columns in the waffle patterns that support and evenly distribute weight. Being waterproof, as Ditra is polyethylene, is a big advantage in a laundry room, and will protect the subfloor in case of any washing machine “accidents” or leaking supply hoses.
We cut and fit tiles with spacers for the layout to make sure the layout was correct.
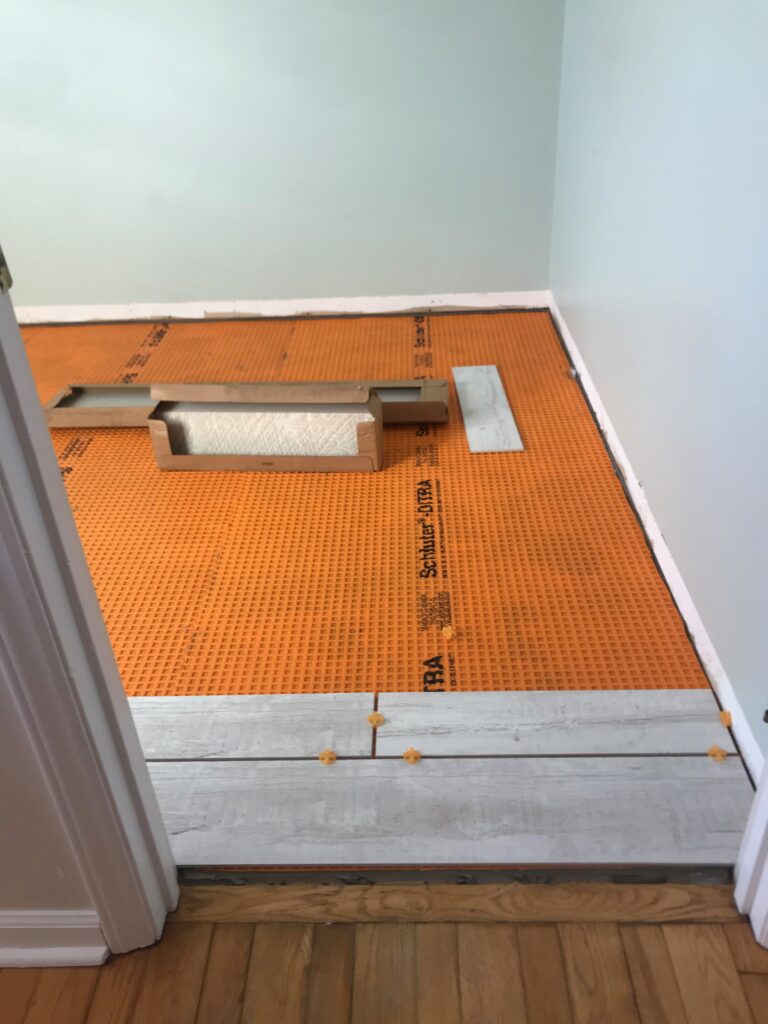
We numbered and labeled all tiles using blue painters tape.
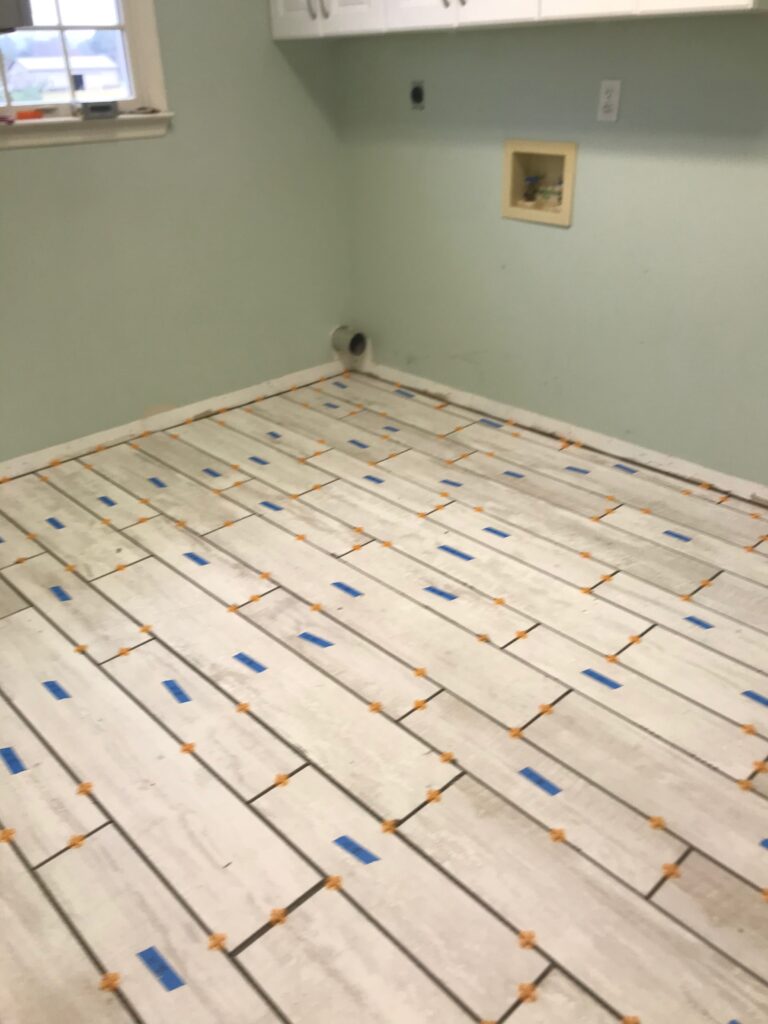
After taking all the tiles up, they were all laid in with unmodified Thin-Set Mortar, and spacers to keep grout lines even. I chose a light charcoal grout from Lowe’s to bring out the darker gray in the tile.
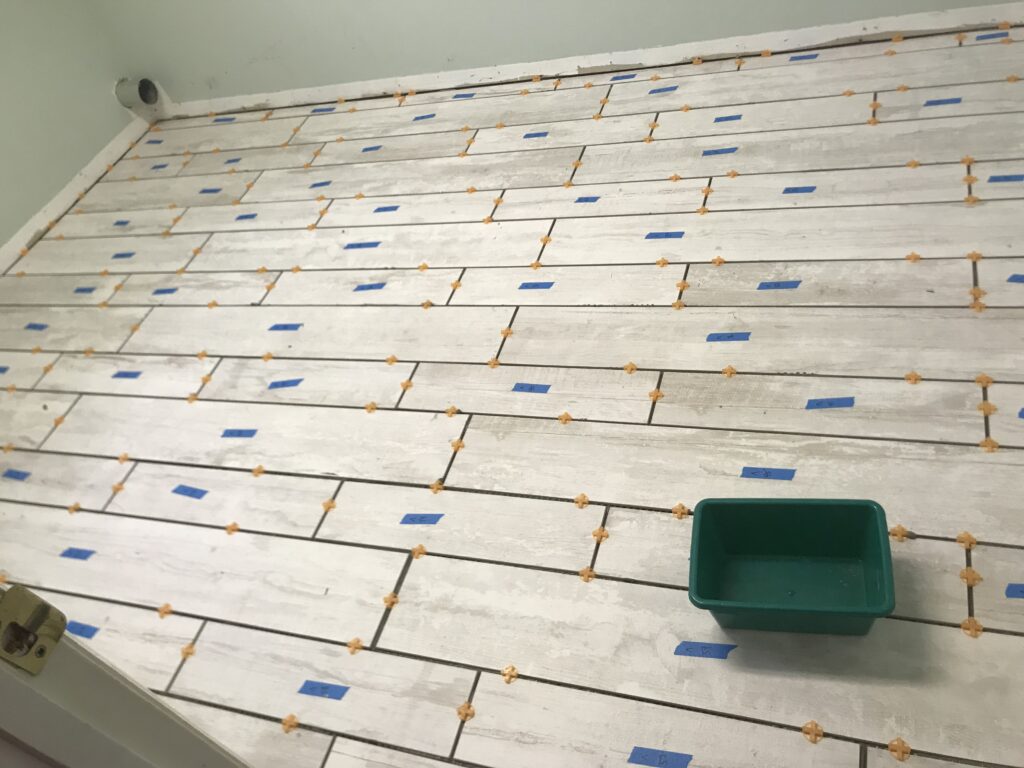
Once the mortar had set, all spacers and labels were removed for grouting.
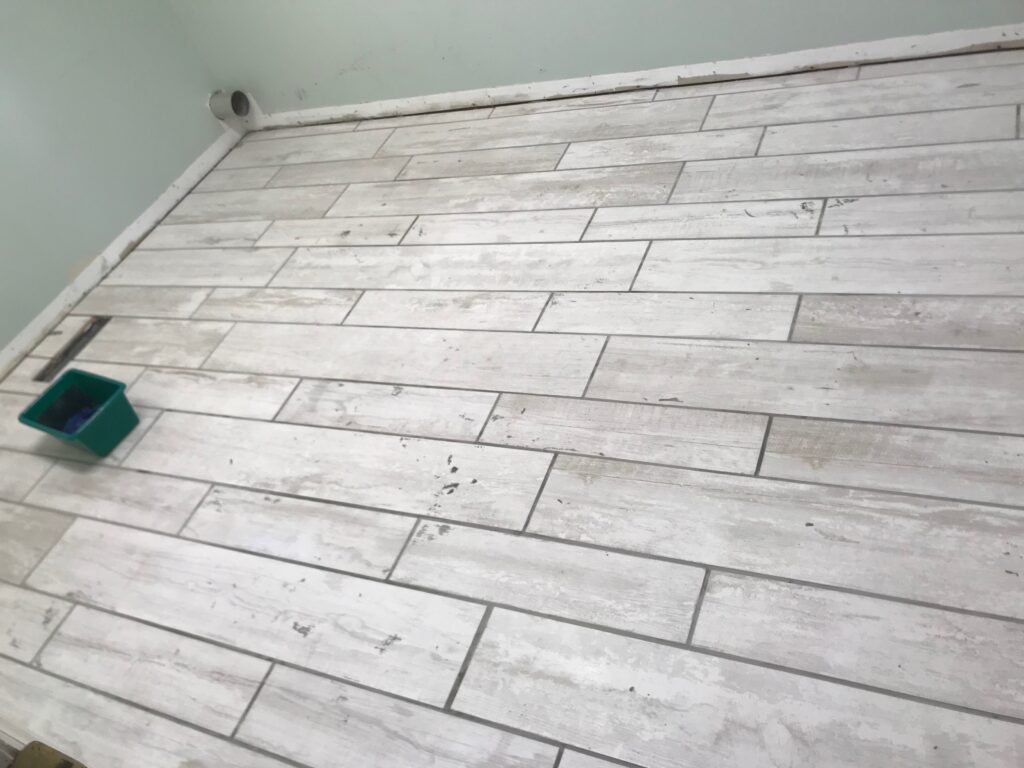
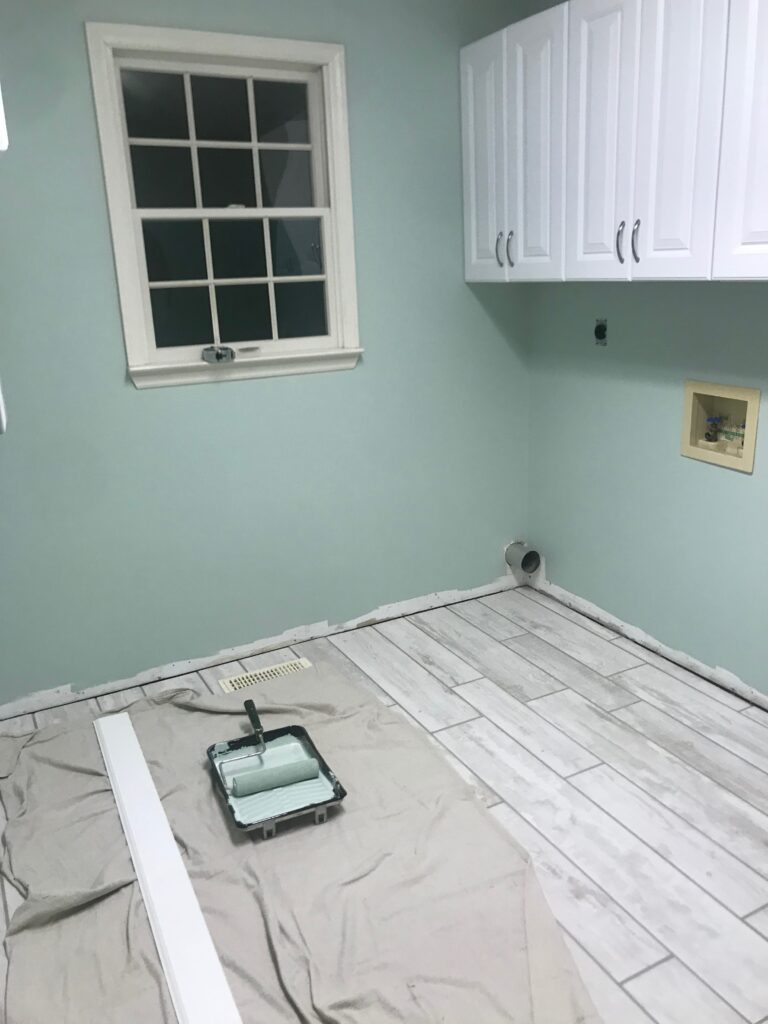
We cleaned up the excess grout. Now, it was time for painting and installation of new 4″ baseboards and quarter round. We replaced the original 2″ baseboards with 4″ for a more Farmhouse vibe. We re-painted the laundry room the same color, SW Seafoam, but had it tinted with some gray to bring out the gray
in the tile.
I am loving the match of the grout to the darker grays in the tile.
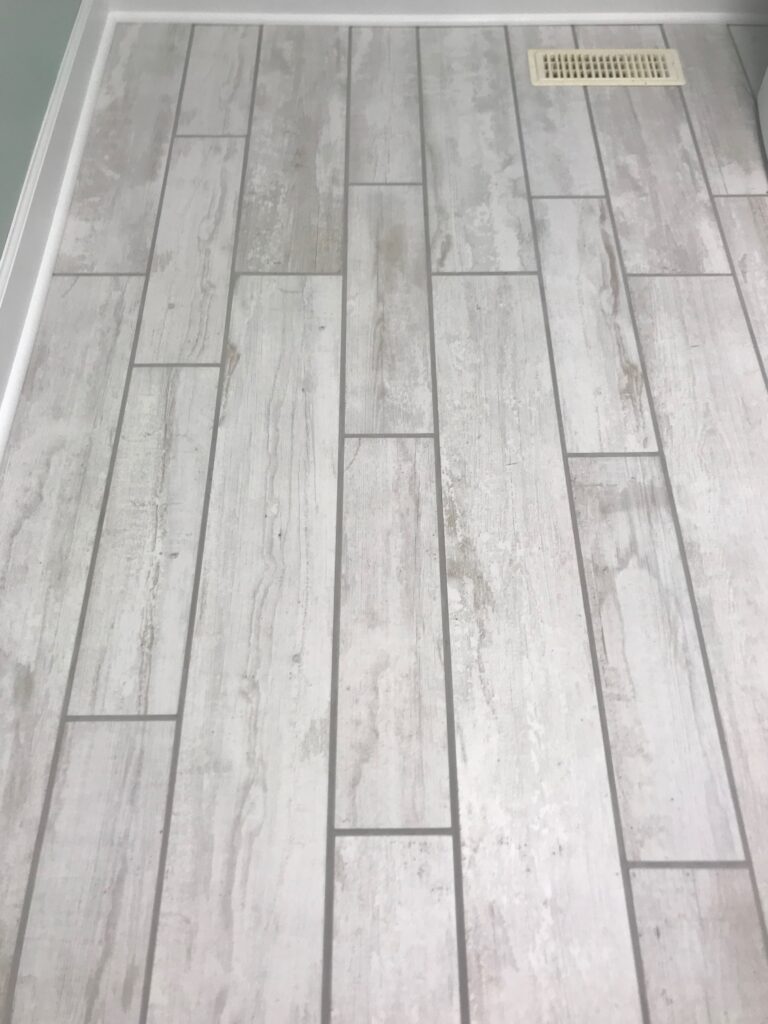
The darker grays in the grout against the white make me swoon!
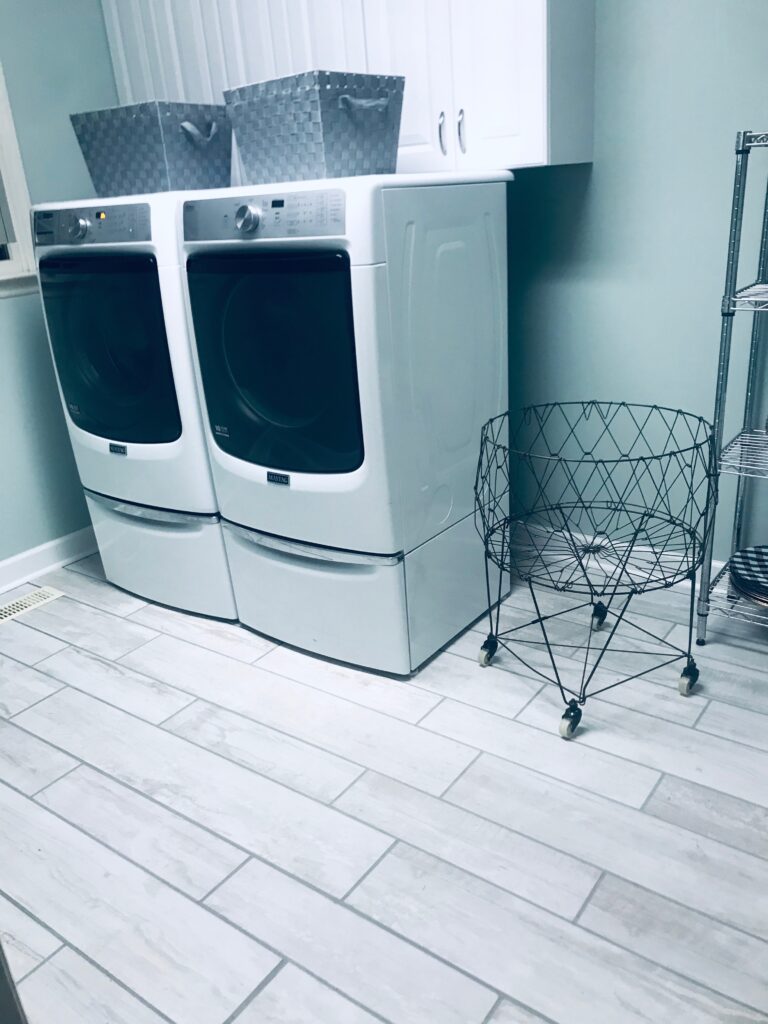
I’m obsessed with the final look of the flooring. It looks so clean and fresh compared to that 1990’s stained Linoleum!
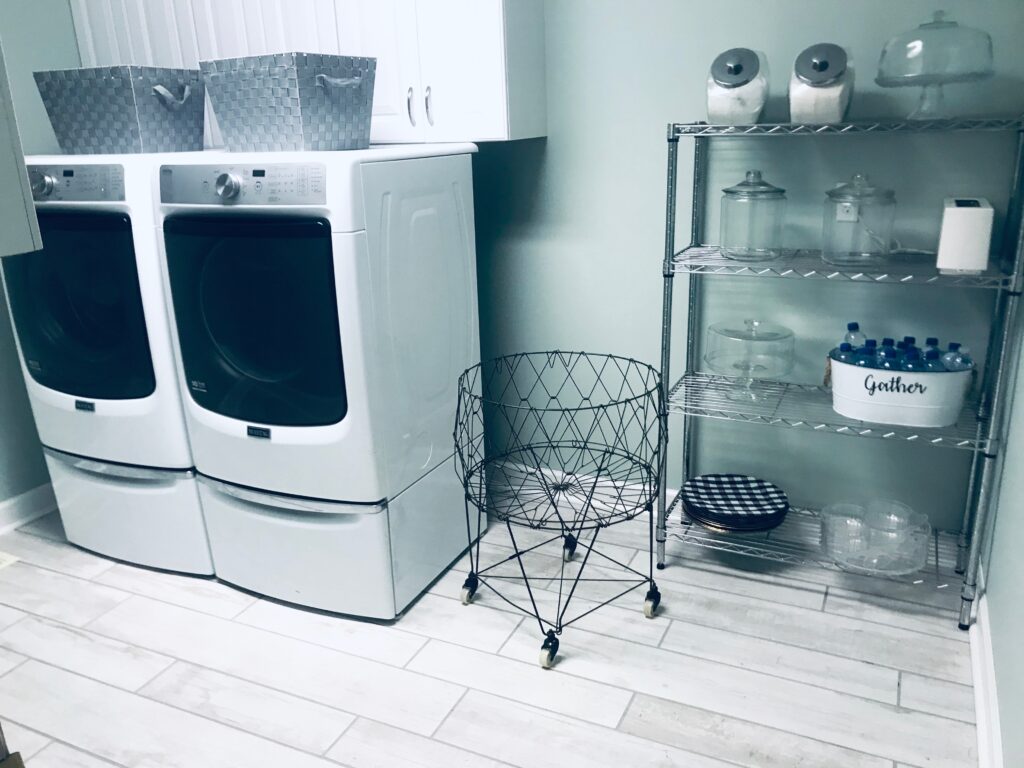
I’m also loving the paint color. The gray tint works well in here to brighten up the space, but it is still subltle and not too bold. The gray baskets came from Lowes. I had gotten the wire laundry basket from Pottery Barn years ago. I did buy a gray green rug that says Laundry, but did not get a picture with it. I will try to update later. Next stop, new decals for the washer and dryer!
Thanks for stopping by my blog. I am glad you are here!
Tamara